An amp gauge on a tractor determines the overall health of its electrical system by measuring the current flow through the gauge. So, it is crucial to wire the amp gauge in the correct way to get accurate readings.
So, how to wire an amp gauge on a tractor? First, disconnect the ground from the battery. Then, connect the BAT position to the S terminal on the gauge. The alternator output should then be connected to the I terminal of the gauge. Connect the G terminal of the gauge to the ground for the light. Plug in the dash light power connector, and you are good to go.
We will give a detailed guide on how to wire an amp gauge on a tractor below with a circuit diagram. Keep reading.
What Is an Amp Gauge?
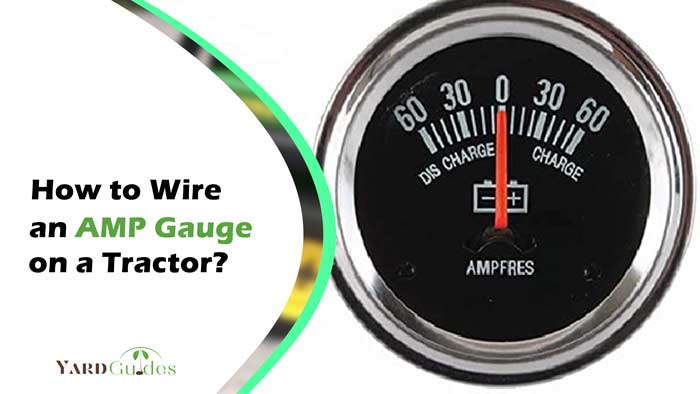
An amp gauge is a small device to measure the amount of electrical current in a circuit. The device is commonly used in automobiles to measure the current flown to or from the battery. It indicates whether the battery is getting recharged or discharged.
When the needle on the gauge moves in the positive direction, it means the battery is getting recharged. And when it goes in the negative direction, it means the battery is getting discharged. It is important to wire the amp gauge correctly to get the right direction on the gauge.
How to Wire an Amp Gauge on a Tractor?
The wiring process is not that difficult. Still, we broke the process down into simpler steps so that you can understand it quickly. Here is a step-by-step guide on how to do the wiring.
Step 1: Disconnect the Ground from the Battery
Before you start wiring, disconnect the ground from the battery to avoid mishaps.
Step 2: Connect the Ignition Switch to the S Terminal
Take a 10 AWG wire. Connect the BAT position behind the ignition switch to the S terminal marked on the amp gauge.
Step 3: Connect the Alternator Output to the S Terminal
Now, connect the positive output of the alternator to the S terminal on the amp gauge using the same wire.
Step 4: Connect the +12V Terminal to the I Terminal
The starter solenoid has two terminals. Connect its +12V terminal to the I terminal on the amp gauge using a 10 AWG wire.
Step 5: Connect the G Terminal to the Ground
You can use a wire of a lower or the same gauge to do this. Connect the G terminal on the amp gauge to the ground (any metal surface on the body).
Step 6: Connect the Dash Light Power
The dash light power will be connected to the L connector on the amp gauge.
Step 7: Connect the Ground Lead to the Battery
After the wiring is done, you can now connect the ground lead to the battery. Turn the system on, and you are good to go.
Here is a quick tutorial on how you can wire an amp gauge. Watch the video.
Things to Remember Before Wiring an Amp Gauge on a Tractor
Though the wiring is simple, you should keep the following things in mind.
- Always check the compatibility of wires to the existing electrical system
- You must wire the amp gauge in series so that all current goes through the gauge. Otherwise, it won’t give an accurate reading
- If you connect the amp gauge in parallel, it will cause short circuits and blow the gauge. Fire hazards can also happen
- No ground wire should come in contact with the I or S terminal. It might cause short circuits and damage the system
Final Words
Amp gauges are commonly used in tractors to figure out how much electricity is reaching or leaving the battery. To get an accurate reading, proper wiring of the amp gauge is necessary.
Though amp gauges come in various models, the wiring basics are almost the same for all of them. We provided a step-by-step guide on how to wire the amp gauge on a tractor. It will help you to wire the amp gauge in the right orientation.