You might be a farmer preparing your fields for planting season or a contractor getting ready to build on a piece of land. So, leveling a field after discing is an essential step in preparing the ground for planting crops or constructing buildings.
So, how to level a field after discing? Leveling a field after discing involves plowing the field to break up clumps of soil, filling in low spots, and using a laser level or a straight edge to check the level and finish grading.
In this guide, we will provide step-by-step instructions on leveling a field after discing, including tips for ensuring a smooth and even surface.
Tools Required for Leveling A Field After Discing
The following tools are required for leveling a field after discing:
- Disc Harrow: Used to break up a field’s clumps of soil.
- Laser Level: To create a reference level for the field, which helps to determine the exact amount of material you need to remove or add to level the field.
- Markers or Flags: These are used to mark high and low spots in the field, making it easier to locate them.
- Shovel: Needed to move soil around the field to fill low spots.
- Box Scraper or Grader: Used to create a smooth, even surface after the field has been leveled.
- Bulldozer: To move large amounts of soil around the field.
- Straight Edge: A straight edge, such as a long piece of lumber, is used to check the field level after each pass.
How to Level A Field After Discing
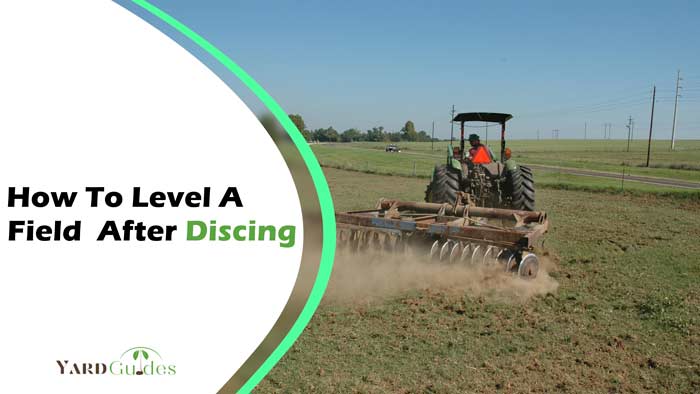
Discing helps to create a more even and level surface, which provides a stable base and helps ensure proper water drainage. The process of discing is important in preparing the land for use.
To level a field after discing, follow these steps:
Step 1: Marking the Spots
Start by walking around the field and identifying the high and low spots. Use flags or markers to mark these spots to locate them quickly when you start working on the area.
Step 2: Use a Laser Level
If you have access to a laser level, use it to create a reference level for the field, as it’ll help you to determine the exact amount of material you need to remove or add to level the field.
Step 3: Disc in Two Directions
Start by discing the field in one direction and then disc it in the antiparallel direction to distribute the soil evenly across the area.
Step 4: Fill Low Spots
If there are low spots, use the material from the high sites to fill them using a shovel, a box scraper, or a bulldozer.
Step 5: Repeat the Process
Repeat the discing and filling process until the field is level. You may need to make multiple passes to get the field perfectly level.
Step 6: Check the Level
Use a laser level or a long straight edge to check the field level after each pass to determine if you need to make any additional adjustments.
Step 7: Finish Grading
Once the field is level, you can use a box scraper or a grader to create a smooth, even surface.
As a well-prepared field will provide better results and be easier to work with in the long run, remember to take your time and be patient when leveling a field.
Tips on Leveling The Field After Discing
Following these tips, you can effectively level your field after discing and create a stable base for planting or construction.
- Before you begin discing, rough grade the field to remove any large bumps or depressions that may interfere with the disc harrow.
- Ensure the disc harrow depth is set correctly, as this will impact the effectiveness of the discing process. If the depth is too shallow, you may not break up the clumps of the soil enough. You may create additional bumps and depressions if the depth is too deep.
- Make sure to check the field level with the laser level regularly.
- When filling in low spots, be sure to add the soil gradually and slowly rather than all at once to avoid creating new bumps or depressions in the field.
- Avoid over-working the soil as it creates additional clumps and makes the leveling process more difficult. Try to work on the soil only as much as necessary to achieve a level field.
- Pay attention to water drainage when leveling the field. If water does not drain properly, it can lead to soil erosion, waterlogging, and other issues impacting the field’s productivity and stability.
Here’s a video to help you better understand the process and techniques
Final Words
To wrap up, leveling a field after discing is crucial in preparing the land for planting or construction. To achieve a level and smooth field, it’s important to consider factors such as soil condition, water drainage, and the desired outcome.
The typical routine is to disc the field in one or two passes setting the disc harrow at a shallow depth of 2 to 3 inches while adding or removing soil to level low or high spots in the field and regularly checking the field level after each pass.
By following these steps, you can ensure that your field is properly prepared for harvests and it’ll remain productive and stable in the long term.